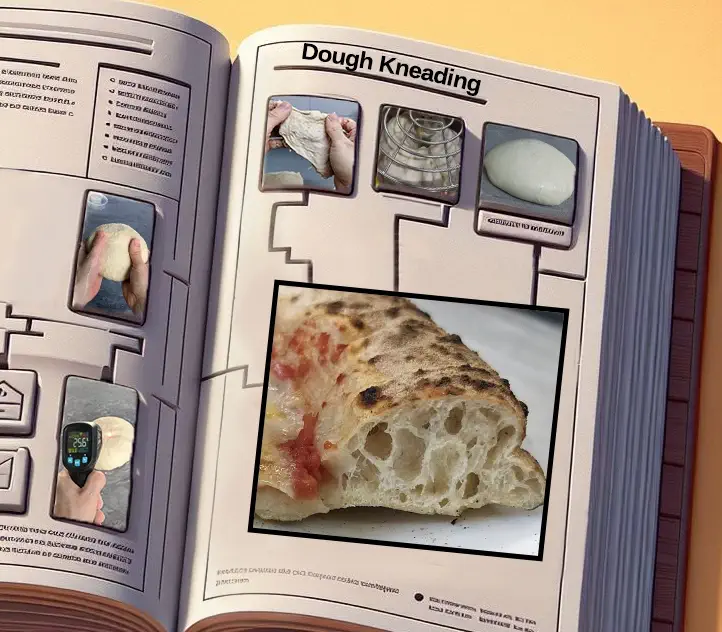
How to Use Dusting Flour for Easy Pizza Stretching and Launching: Practical Tips
In this article, you’ll find practical tips for using dusting flour to smoothly stretch and launch your pizza, ensuring it slides into the oven with ease and no sticking
Using Dusting Flour for Pizza: Introduction
Note that this article focuses on working with dusting flour, not on dough stretching or pizza peel techniques.
The purpose of this article is to assist you in:
1. Using as little dusting flour as possible, reducing the negative effects of excess flour on the baked crust.
2. Smoothly transferring the pizza to the oven.
3. Reducing the chance of dough sticking to your hands, work surface, or pizza peel.
For general information on dusting flour, see Guide to Pizza Dusting Flour: What It Is, Flour Options & Which to Choose [Recommended].
In the sections below, you’ll find tips for using dusting flour for pizza, grouped into three categories:
- Factors affecting dusting flour amounts [how to reduce flour usage]
- General tips for using dusting flour
- Tips for the dough stretching and launching stages:
- Flouring the dough ball
- Flouring the work surface and stretching the dough into a pizza base
- Flouring the pizza peel
In general, the aim is to use the smallest amount of dusting flour necessary – sufficient for easy dough handling, without compromising the final product. The tips that follow will guide you toward this goal.
At the end of the article, you’ll find demonstration videos, illustrating how to stretch pizza dough using dusting flour.
Factors That Affect Dusting Flour Amounts [How to Reduce Flour Usage]
The amount of dusting flour needed depends on several key factors:
- The baker’s skill level
- The speed of work
- The type of flour or flour blend used
- The type, condition, and temperature of the dough
- Surface moisture of the dough
- The type of pizza peel used
As stated, the goal is to use just enough flour to work comfortably with the dough – no more, no less.
Skill Level of the Baker
Naturally, a more skilled and experienced baker requires less flour to manage the dough.
With practice, you’ll learn to judge the amount of flour needed for your specific pizza and workflow.
Speed of Work
The speed at which you work greatly influences whether the dough sticks to your hands, the surface, or the pizza peel.
Working quickly is key to preventing sticking. The longer you wait after flouring the dough – the higher the risk it will stick to your hands or work surface. Similarly, if the stretched pizza base rests on the peel or surface for too long, it’s more prone to stick, complicating the transfer to the oven.
So, from the moment you flour the dough, move as quickly as possible. Avoid letting the dough rest on the work surface or pizza peel for too long. Once you start stretching, keep going steadily and quickly until it’s in the oven.
When you work fast enough, and depending on other conditions, you might need only a minimal amount of dusting flour, sometimes without even flouring the peel. You may have seen this in pizzerias, where pizzaiolos work so quickly, that they barely use flour on the peel.
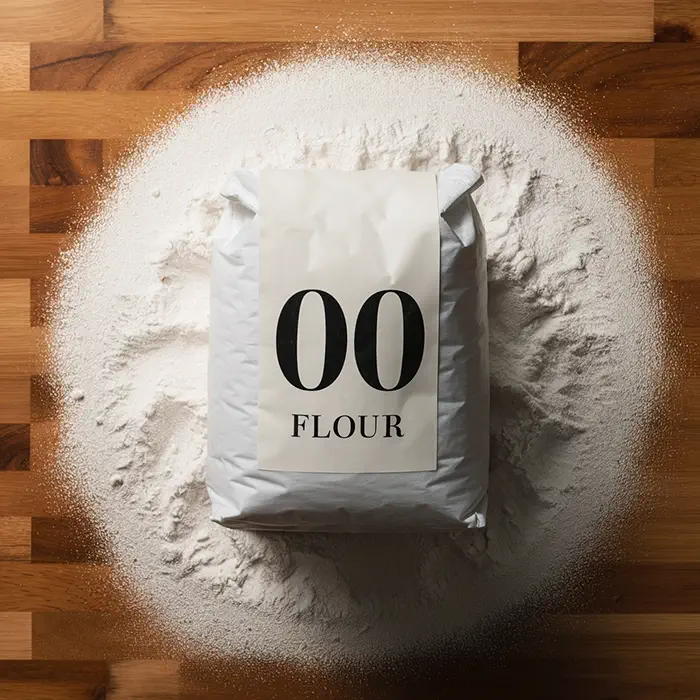
Type of Flour or Flour Blend Used
Different flours have unique properties that affect how much dusting flour is required.
For instance, coarser flours like durum semolina or cornmeal may need different amounts than finer flours like white flour or rice flour.
Dough Type, Condition, and Temperature
The type, condition, and temperature of the dough play a major role in determining how much dusting flour you’ll need. For example:
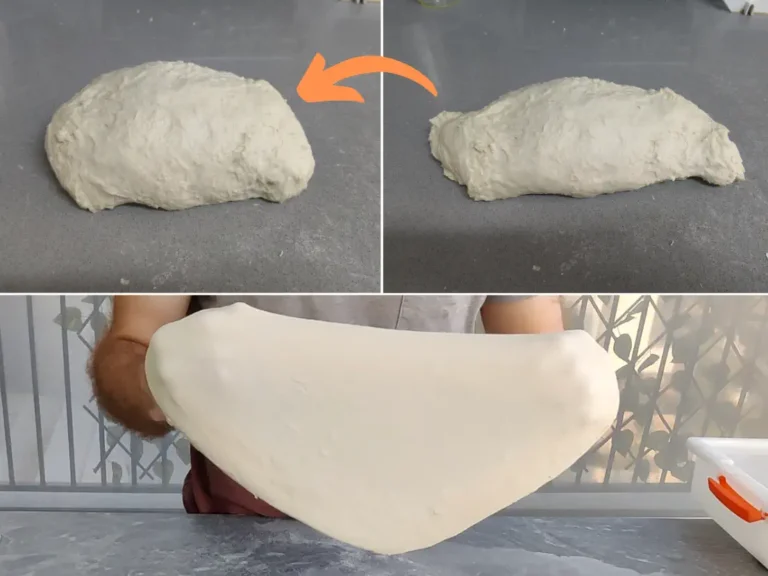
- Over-fermented dough tends to be highly extensible and sticky, often calling for more flour.
- A “wet,” high-hydration dough is naturally stretchier and stickier, which can require extra flour too.
- A “stiff,” low-hydration dough (like cracker-style pizza dough) is less sticky and typically needs less flour.
- Warmer dough is usually more extensible and sticky than cooler dough, so a higher-temperature dough may require more flour than a cooler dough.
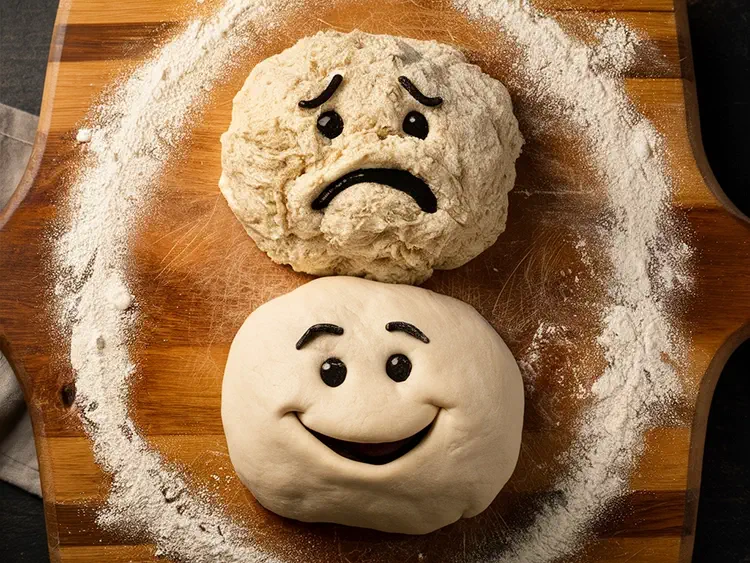
Surface Moisture of the Dough
The dough’s surface – whether dry or wet – also affects the amount of dusting flour required.
For example, if condensation builds up inside the fermentation container – water droplets forming on the lid and dripping onto the dough – the surface can turn wet, making it trickier to handle, and potentially needing more flour.
Type of Pizza Peel Used
There are three primary types of pizza peels:
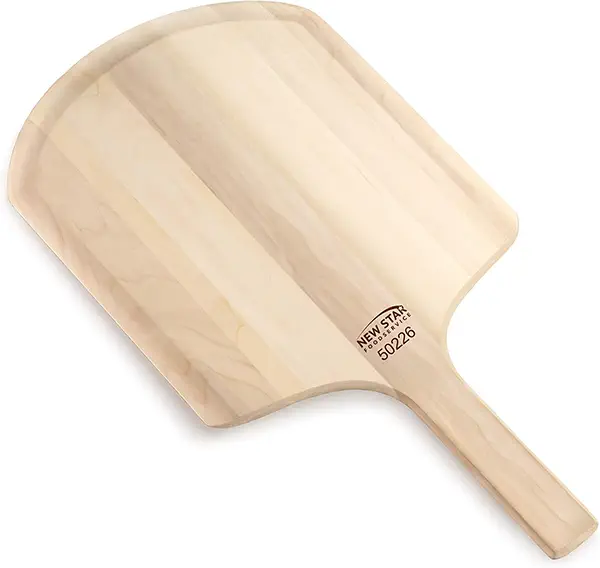
- Wooden peel
- Perforated metal peel
- Non-perforated metal peel
When baking in a home oven, you can use parchment paper to slide the pizza into the oven, eliminating the need to flour the peel itself.
Wooden Pizza Peel
Wood, being a porous material, absorbs moisture. This makes dough less likely to stick to wooden pizza peels, thanks to their porous surface.
In simple terms: A wooden peel keeps the dough’s bottom drier for longer.
Plus, the porous and slightly rough texture of wooden peels:
- Lets you spread a thin, even layer of flour across the peel – you can easily distribute it with your hand to coat the whole surface.
- Stops flour from sliding off, holding it in place – unlike the smooth surface of a metal peel, where flour slips away easily.
Because of these qualities, a wooden peel is the top choice for launching the pizza into the oven, since it:
- Grips the dusting flour effectively.
- Allows to create a thin, even flour layer, reducing the amount of flour needed.
- Keeps the dough dry longer.
Non-Perforated Metal Pizza Peel
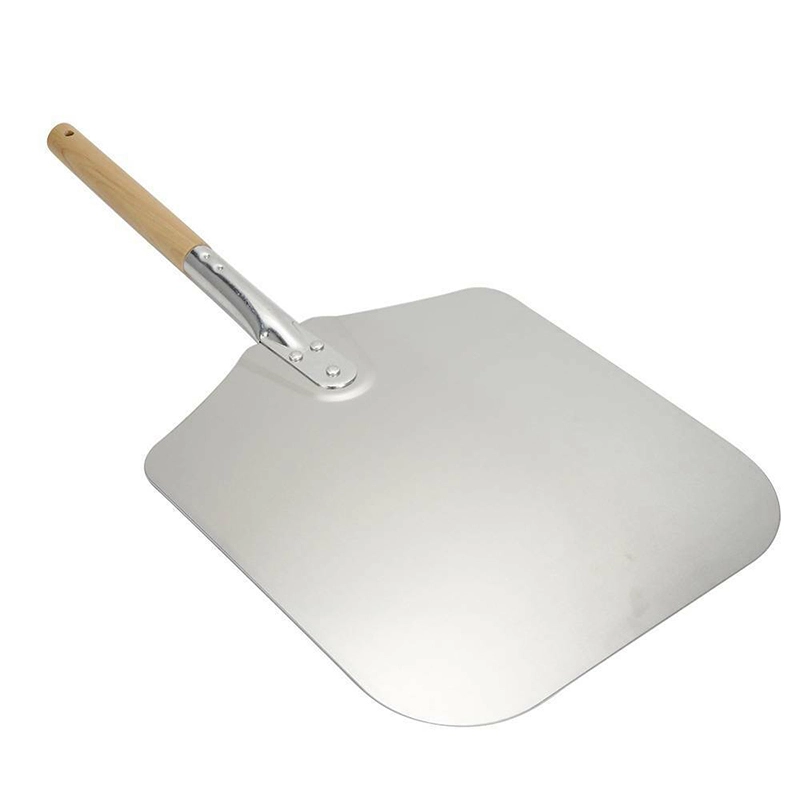
Generally, a non-perforated metal peel is less ideal for launching pizza (compared to a wooden or perforated metal peel). It often demands more flour due to several factors:
- Metal peels, typically made of aluminum, have high thermal conductivity. If the dough and peel have different temperatures, condensation can form on the dough’s bottom, making it wet and more likely to stick.
- Unlike a wooden peel, it’s not porous, and unlike a perforated peel, it lacks holes, increasing the odds of moisture buildup under the dough.
- Flour slides around and “dances” on the smooth metal surface, making it harder to spread evenly.
- Unlike a perforated peel, it doesn’t let you shake off excess flour before launching.
This doesn’t mean a non-perforated metal peel can’t work; It can – but it can be trickier, and typically requires more flour or experience to avoid sticking.
Perforated Metal Pizza Peel
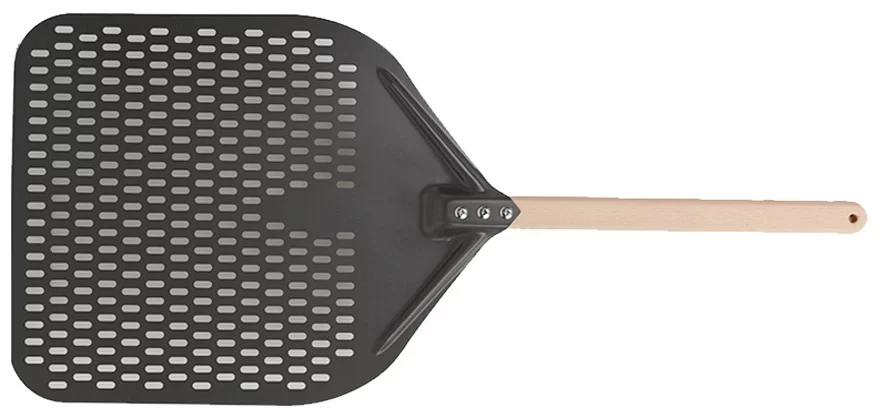
A perforated metal peel offers three clear benefits over a non-perforated one:
- The holes let you shake off excess flour from the pizza’s bottom before it goes into the oven.
- Fewer contact points between the dough and the peel mean less friction, lowering the chance of sticking.
- The perforations allow the dough to “breathe,” helping prevent moisture buildup.
These features make it easier to use less flour, or remove any excess before baking.
The above only applies to dough in ‘good’ condition – not overly slack or extensible (like from over-fermentation). If the dough gets too slack, it might seep through the holes, turning the perforations into a drawback instead of a plus.
General Tips for Using Dusting Flour
In the sections below, you’ll find general tips for using dusting flour that apply to all scenarios.
Using the Right Amount of Dusting Flour – Not Too Little, Not Too Much
Ideally, dusting flour should form a thin, even layer on the dough (or pizza peel) to prevent sticking.
It’s important to use enough flour, but not overdo it:
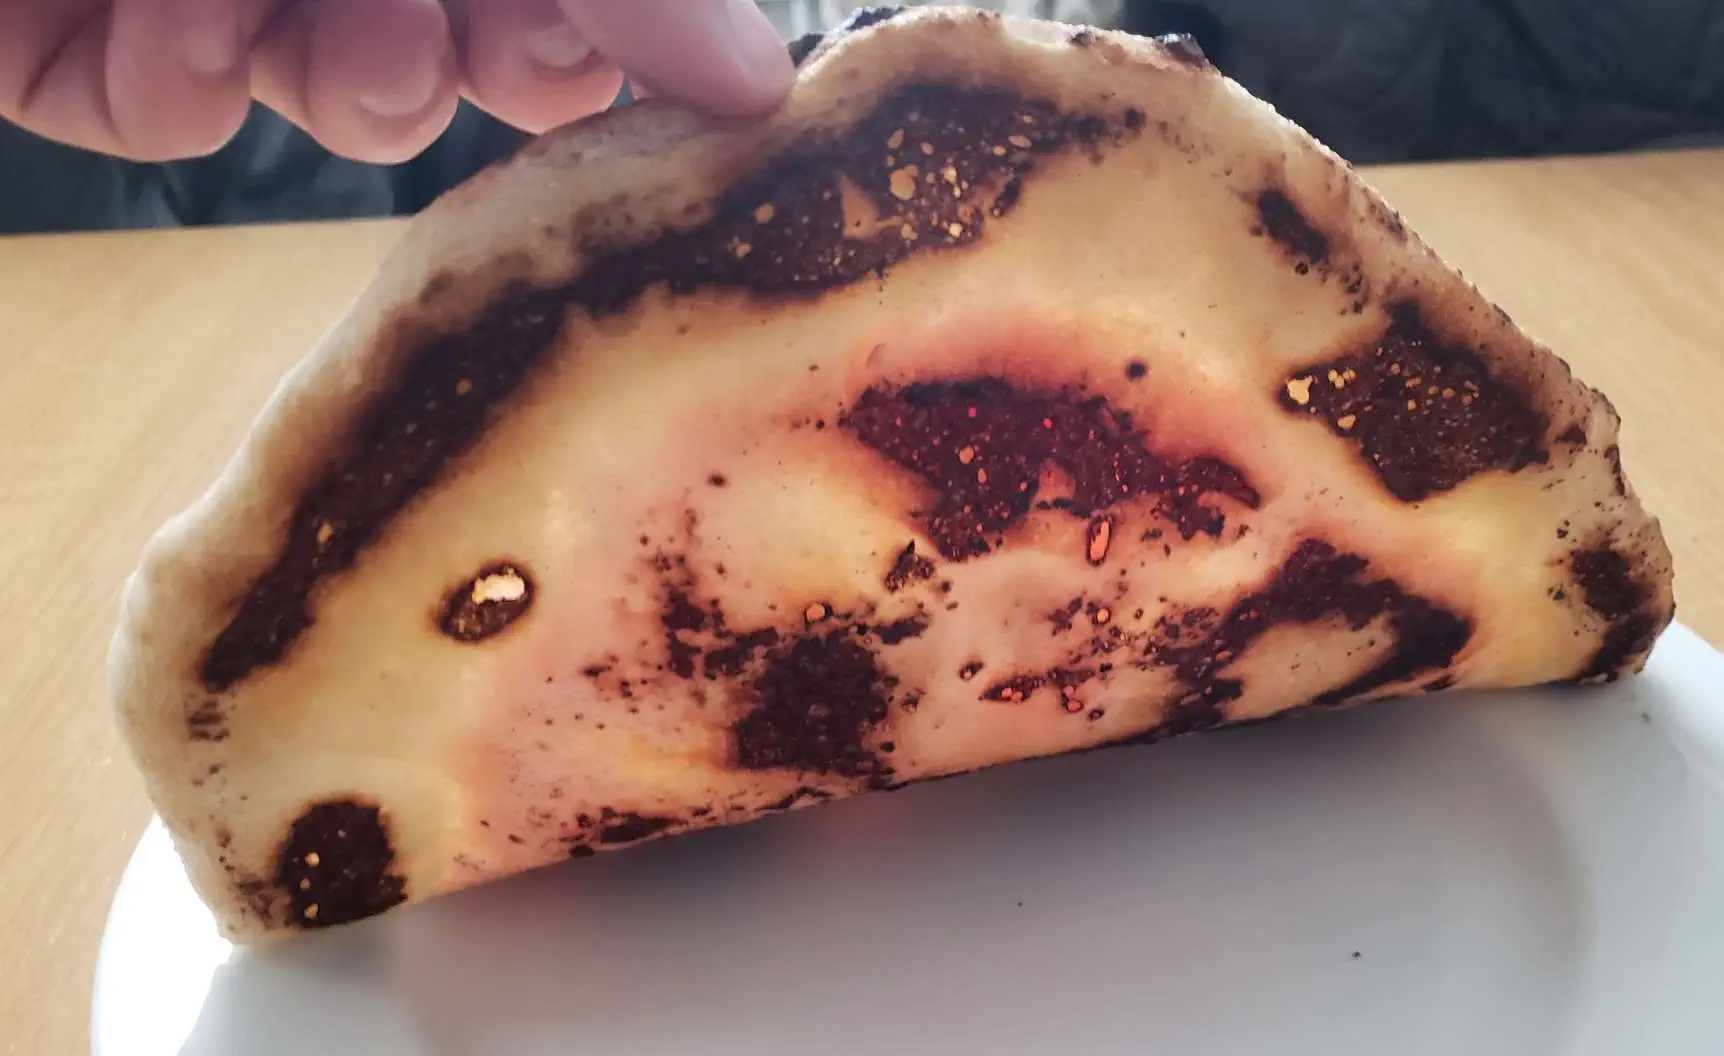
- Too much flour can affect the baked dough’s taste or texture.
- Too little flour might let the dough stick to your hands, work surface, or pizza peel.
Working Quickly
As already mentioned, how fast you work has a huge impact on whether the dough sticks to your hands, the work surface, or the pizza peel. Work as quickly as possible, especially when assembling the pizza and when it’s sitting on the work surface or peel.
Keeping the Dough Dry
It’s crucial to keep the dough dry while working with it. Wet dough sticks more and can grab extra flour, which might burn during baking.
Look out for anything that could make the dough wet:
- A damp work surface (from water, toppings or spilled sauce).
- A wet pizza peel.
- Wet toppings touching the underside of the dough.
- Anything else that might wet the dough.
Before you start stretching the dough, make sure that your work surface and pizza peel are completely clean and dry.
If you see a wet spot on the dough, sprinkle a little flour there to dry it up.
If the dough’s on the peel and sticking in one place, shake the peel lightly to free it.
If that doesn’t help and the dough’s really stuck, gently lift it (with your hand or a floured dough scraper) and add a small amount of flour where it’s sticking – either on the peel or the dough, whichever is simpler to do.
Using the Drier Side of the Dough as the Pizza’s Bottom
A drier dough is less likely to stick to the pizza peel or work surface. Therefore, it’s always best to use the drier side of the dough as the bottom of the pizza (the part that touches the pizza peel).
Here are some examples:
- Dough balls fermented in a wooden box will be fairly dry on their bottom (the side touching the wood), because wood absorbs moisture. In this case, it’s best to keep the bottom of the dough as the bottom of the pizza (the side that meets the peel).
- For dough balls fermented in containers that aren’t wood, the top of the dough is usually drier since it’s exposed to air, which dries it out (even in a sealed, airtight container). Here, it’s best to make the top of the dough the bottom of the pizza.
- If condensation builds up in the fermentation container and water drips onto the top of the dough (common with cold fermentation), it’s better to use the bottom of the dough ball as the bottom of the pizza.
Therefore, when you’re opening the dough into a pizza base, pay attention to which side is the top and which is the bottom – This can help minimize sticking, and make launching the pizza smoother and easier.
Trial, Error, and Practice
The best way to learn how much flour to use and how to apply it effectively is through trial, error, and practice – something you can’t pick up just by reading.
If you notice you’re using too much or too little flour, tweak it on your next try until you hit the sweet spot for handling the dough and getting the best baking results for your specific dough, tools, and process.
To begin, I suggest starting with an amount that feels right to you (even if it’s a bit more than needed), and then slowly cutting back from there.
Storing Leftover Dusting Flour for Later
After baking, you can gather up any leftover dusting flour and save it for next time. Just be sure to sift it to remove bits of other stuff, like clumps of wet dough, sauce, cheese, or toppings.
Tips for Stretching and Launching the Dough
In the sections below, you’ll find tips for using dusting flour properly during the dough’s stretching and launching.
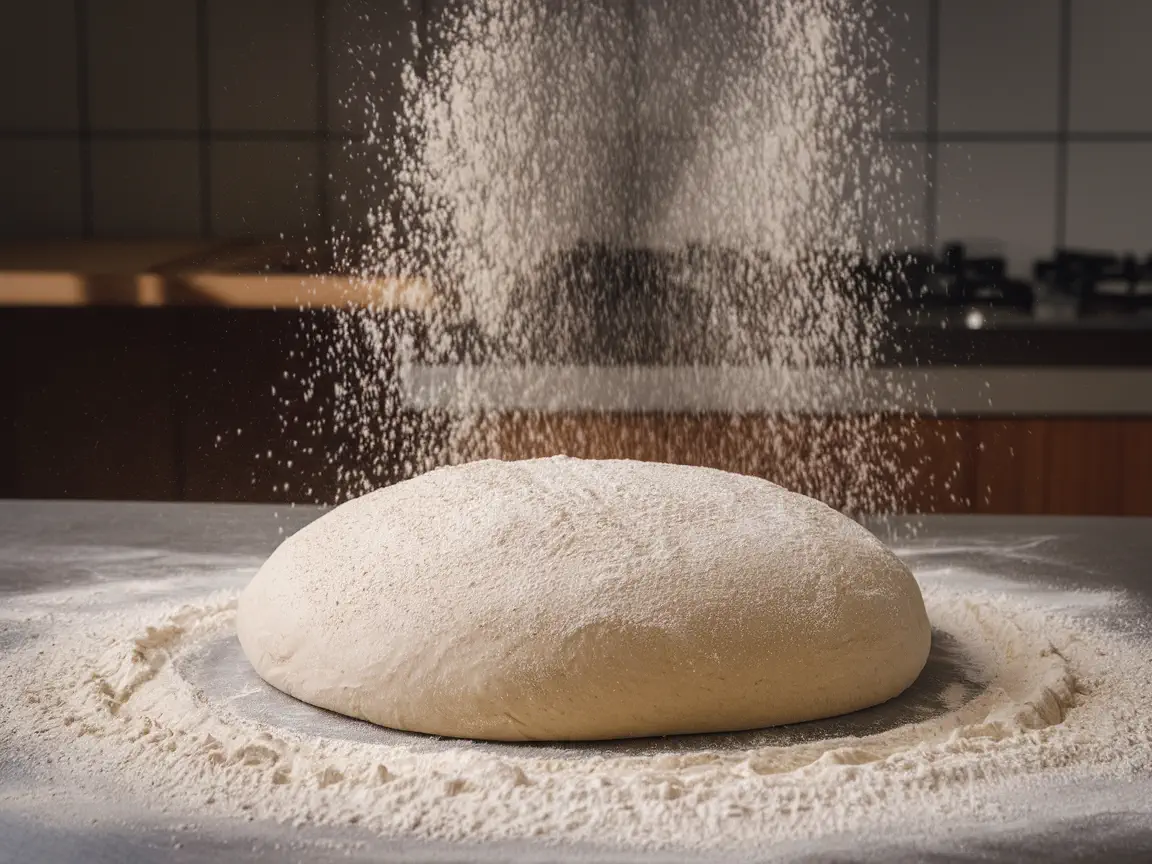
Initial Flouring of the Dough
Get a big enough container – a deep plate or bowl – and fill it with plenty of dusting flour. It’s best to use a container larger than the dough, so flour doesn’t spill out when you put the dough in.
Place the dough inside the container and coat it with flour, making sure it is fully covered. The aim is to get a thin, even layer of flour over the entire dough ball.
Once the dough is floured, get rid of any excess flour by:
- Patting it in the air: Hold the dough ball above the work surface with one hand and pat it with the other.
- Brushing it with your hand where too much flour has built up.
- Tossing the dough between your hands.
Flouring the Work Surface and Stretching the Dough
At this stage, you can dust some flour on the work surface, though it’s not always necessary. Usually, flouring the dough alone is enough.
If you’re using parchment paper to launch the pizza, place the pizza base on the parchment paper (already on the pizza peel) only after stretching the dough to its final size. There’s no need to flour the parchment paper.
If the dough feels wet or sticky in spots while stretching, dust it with some flour (either to those areas or across the whole surface) and keep stretching.
If you dust the pizza base directly, it’s best to evenly spread the flour with your hand – gently brush it over the dough to make an even layer, to avoid flour piling up in certain places.
Flouring the Pizza Peel
How you dust the pizza peel depends a lot on the type of peel you’re using.
It’s important to avoid over-dusting the peel, particularly with wooden or non-perforated metal ones – too much flour on the peel is the main cause of excess flour sticking to the pizza’s bottom and burning during baking.
Generally, the quicker you work, and the less sticky the dough is (before dusting it) – the less flour you’ll need on the peel.
Once the dough is on the peel (no matter the type), act fast and aim to get it into the oven as soon as possible. Working fast helps prevent the dough from sticking to the peel, whatever kind you’re using.
Flouring a Wooden Peel
Dust the wooden peel and spread the flour with your hand to form a thin, even layer across the whole surface. You can brush off extra flour with your hand, or tap the peel lightly to shake off any excess.
The aim is a thin layer – if you can’t see the wood and only see a thick, solid layer of flour, you’ve added too much.
Thanks to wood’s natural ability to reduce sticking, wooden peels let you build the pizza right on the peel. This is how pizzerias that use wooden peels do it: the dough is stretched to its final size, and then placed on the floured peel for dressing.
And again, once the dough hits the peel – work fast.
Flouring a Metal Peel (Perforated or Non-Perforated)
Dough sticks more easily to metal peels – particularly non-perforated ones. So, when using a metal peel, it’s best not to build the pizza on it. Instead, dress the pizza on the work surface, then slide it onto the peel, and proceed launching it into the oven.
Because metal peels have a smooth, non-porous surface, flour slips around and it’s harder to get an even layer of flour. It’s best to dust the flour from a good height above the peel for better coverage; Dusting from too low can leave uneven patches, meaning you’ll need more flour to properly cover the peel.
After flouring, you can give the peel a light shake to spread the flour more evenly, but don’t overdo it – too much shaking can make the flour slide off or pile up in spots.
Avoid touching the flour on the peel with your hands or fingers, as this can smear it and make the flour layer uneven.
With a perforated peel, you can give it a small shake before launching to rid off any extra flour from the bottom.
Shaking the Dough on the Peel
Once the dough is on the peel, you can shake the peel, either right before launching the pizza into the oven, or, if using a wooden peel – during the pizza’s assembly.
Shaking the dough on the peel helps to:
- Confirm the dough slides freely on the peel before launching to avoid any last-minute sticking.
- Loosen the dough with a gentle shake if it begins to stick to the peel.
- With a wooden peel: Shaking during assembly works well if assembling the pizza takes a while. It “breaks” the dough’s grip on the peel, keeping it movable for longer (as long as the dough doesn’t get wet from sauce or toppings and isn’t sticking too much).
Keep in mind that shaking the dough on the peel will make it shrink a bit, so plan for that. After shaking, you can gently stretch the dough with your fingers (by lifting and pulling the bottom of the rim outward), but do this right after shaking and just before launching.
Demonstration Videos: Using Dusting Flour to Stretch and Launch Pizza
Here are short videos showing how to stretch and launch pizza with dusting flour:
Enjoy the content on PizzaBlab? Help me keep the oven running!